Create A User
Click + New User located at the bottom-left of the Users Administration window to open the Edit User window where a new user can be added to the system.
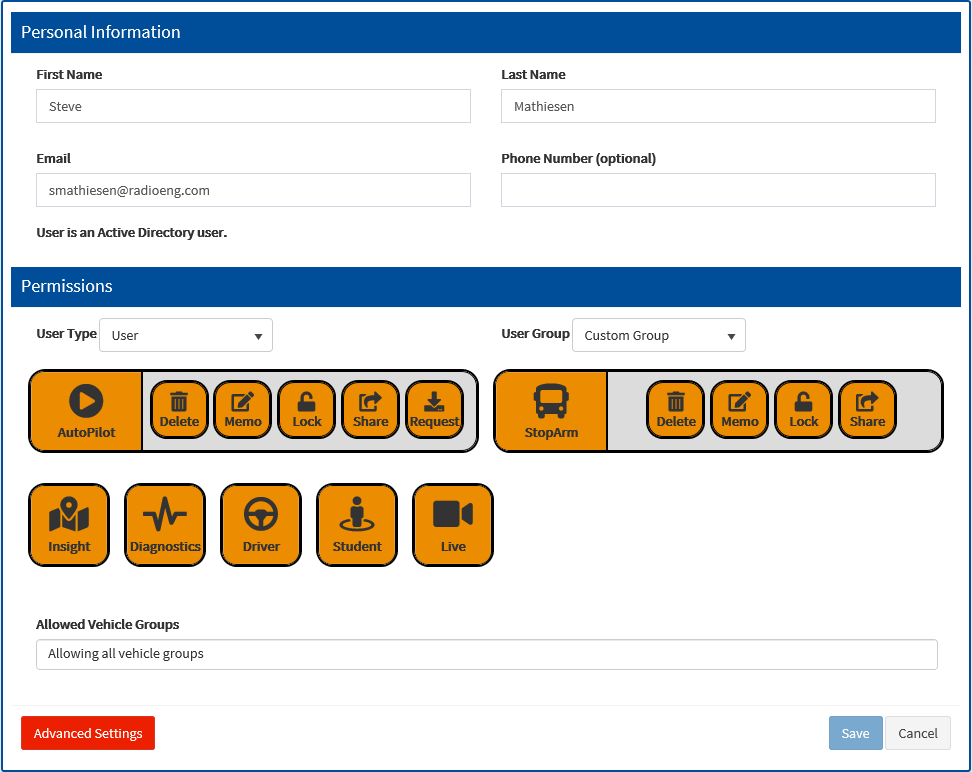
Edit User Window Created as an Active Directory user
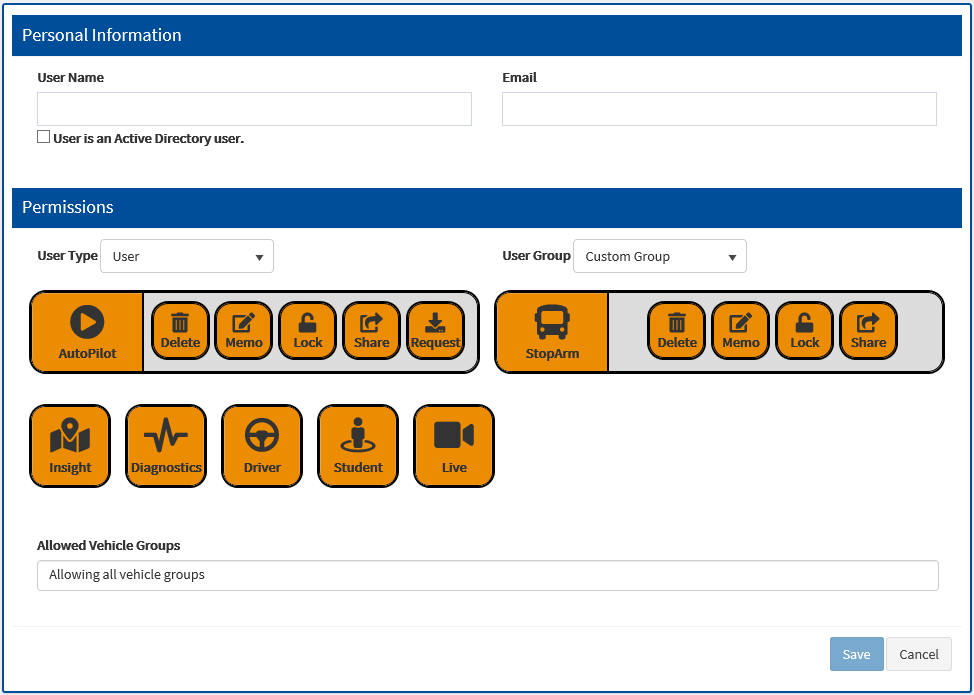
Create User for New User
Successfully adding a new user requires setting the following information.
Personal Information
•User Name – a unique name that identifies the user to the system. This will be the same value required to successfully log in to the system.
•Email – a valid email address for the user.
Permissions
•User Type – drop-down list used to determine if the access level is User or Admin.
oAdmin has full access, including the Administration module.
oUser has access to designated areas only and excludes the Administration menu. Access to designated areas and the amount of control are set by selecting or clearing the application boxes that follow the User Type selection box.
•User Group – Select from the adjoining drop-down list the vehicle group(s) that is associated with the new user. Select an existing group (i.e., Fleet_Manager_Group), or Custom.
Click the tabs that will be associated with the new user. Once the groups for restriction are set, these groups will be the only groups accessible when the user logs into the system. Multiple groups can be selected for access.
After selecting all values, click Save to save the new user. An email will be sent to the user with notification that a new account has been created by the ARMOR administrator. The new user will then appear as a new entry in the control panel.

New User Email Confirmation
Click the New User link in the notification email to open a window where the new user can enter the necessary information on the Personal, Password, and Questions windows. While providing information on the three windows, it is possible to go back to the previous tab to change entries by clicking on Previous.
In the Personal window, enter the first and last name of the new user. An optional phone number can also be entered at this time. Click Next.
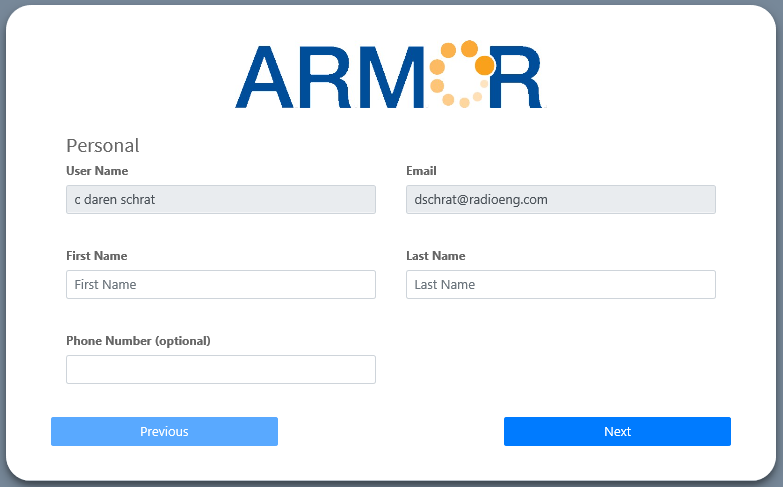
User Info, Personal Window
In the Password window, create and enter a password. After confirmation, click Next.
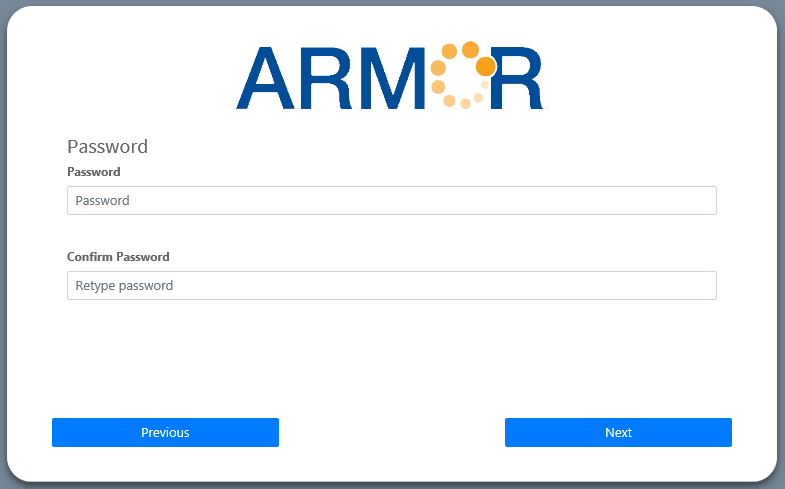
User Info, Password Window
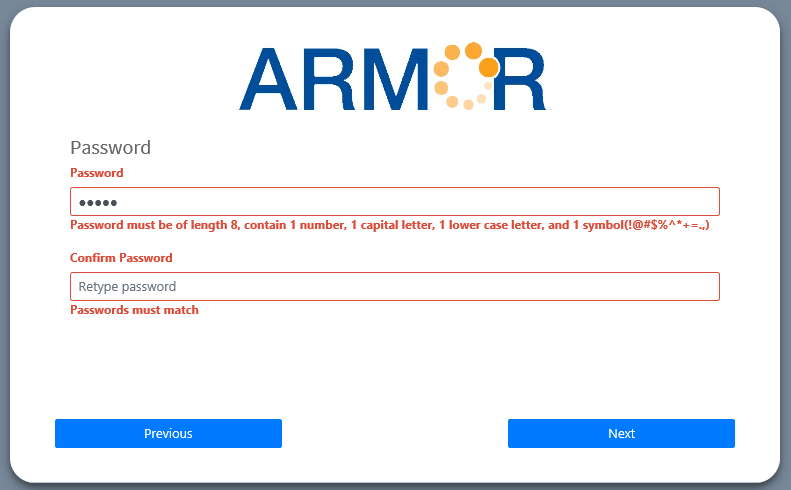
User Info, Password Entry
In the Questions window, select and answer three Security questions from the drop-down list for each question. Click Submit.
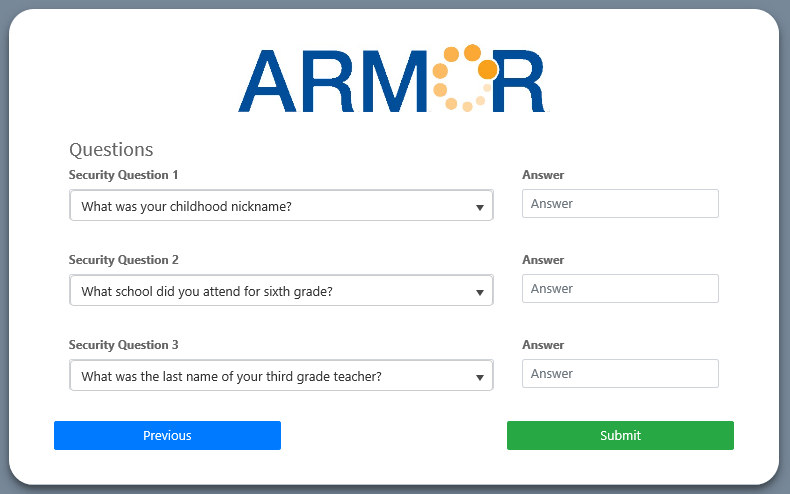
User Info, Password Questions
After clicking Submit, a message will appear confirming registration.

Successful Registration Confirmation
Password Validation with Active Directory
Note: Active Directory only works for on-premises installations.
When creating a new user, selecting the 'User is an Active Directory user' check box will apply the information from the active directory. Active Directory users reduce the amount of data needed to enter ARMOR making it easier for administrators to enter users. The Email entry text box becomes inactive.
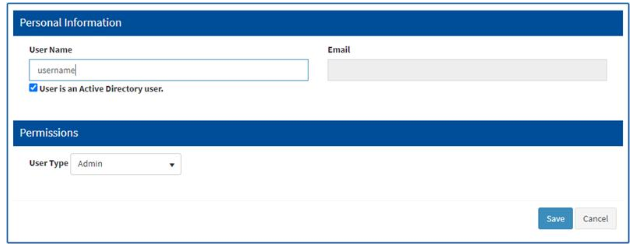
User is an Active Directory user checked
Click Save. The user will receive an email confirming a successful installation with a Log In link for the new account.
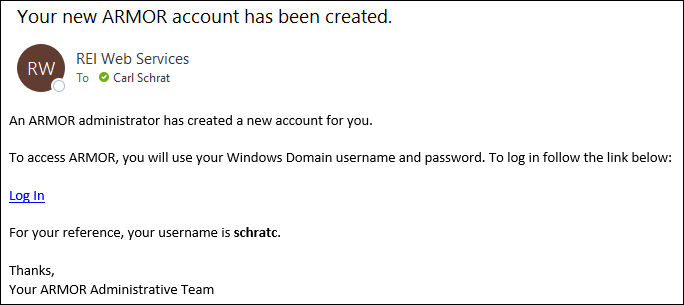
New Account Log In Email
If the User is already an Active Directory user, the check box is replaced with notification that the user is an Active Directory user. The Advanced Settings button becomes active to allow the user to reset credentials and delete/unlock user.
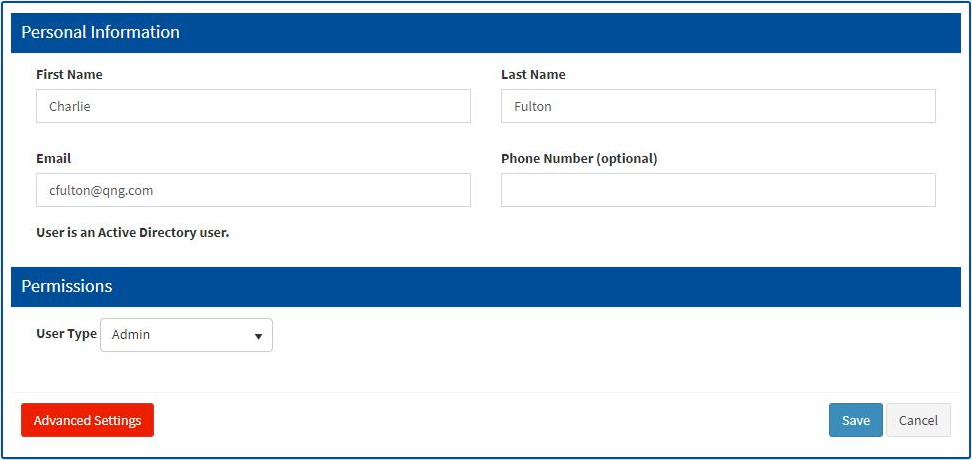
User identified as an Active Directory user
